Getting started with Keycloak
By Hanut Singh Gusain on 12/23/2021
But I already know how to do authentication !
Authentication and authorization are an important part of any application, new or old. You want to make sure your services are consumed only by the people who the system can recognize. Most apis today are secured with some form of token based authentication where the client sends over a security token (eg. json web token or jwt) which the server can use to verify the request is coming from an authenticated user.
Now it is easy enough to build a jwt based authentication system in any rest api (Just use the jwt passport strategy in Node.js for example) but having to build this same functionality over and over is tedious and time consuming. There is also the fact that most authentication will have to eventually offer some flavor of Single Sign On (or S.S.O.) and maybe even integrate LDAP or SAML based authentication. Plus a lot of the projects I have worked on used a half baked implementation of Json Web Tokens that is actually pretty easy to spoof and makes the system vulnerable.
For these reasons and more it is recommended to have a standardized Identity Provider or IdP for short. Keycloak happens to cover all this and more and is Kubernetes ready so it fits in seamlessly with almost any kind of application setup you may have. It also works really well with KrakenD.
Another thing to keep in mind is there is a difference between Authorization & Authentication
What is Keycloak ?
As I explained before, Keycloak is an Open Source Identity and Access Management solution for modern applications and services.
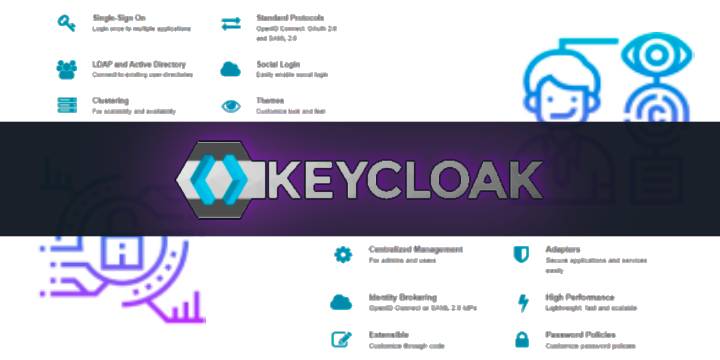
It includes features like -
- Single-Sign On
- Centralized Identity Management
- Standardized Protocols like OpenID Connect, OAuth 2.0 and SAML 2.0
- Social Login
- Adapters for most frameworks and languages
- High Performance & Clustering capabilities
- Supports LDAP and Active Directory
- Supports password policies
Ok, but how does it work ?
Keycloak abstracts away all the extra effort of having to setup users, roles, permissions, managing verifications, forgotten passwords. In its place, it exposes a well defined set of apis that our applications can deal with. The applications themselves are isolated from the user management and authentication logic and instead receive identity tokens (ie, JWTs) which contain all the user information as well as permissions required by the applications to make their authorization decisions.
Setting things up with Docker !
Getting started with Keycloak as a docker container is pretty simple.
Just start a local container on your machine using -
docker run -d -p 8888:8080 -e KEYCLOAK_USER=admin -e KEYCLOAK_PASSWORD=beans --name=keycloak-demo quay.io/keycloak/keycloak:16.1.0


This starts the keycloak server, makes it accessible on port 8888 on the host machine and creates an admin user with the name admin and password beans.
Next you can use a browser to navigate to localhost:8888 in the browser and you will be presented with the following screen -

Here you can click on the Administration Console option to see the login page where you can use the configured username and password to login to the server.
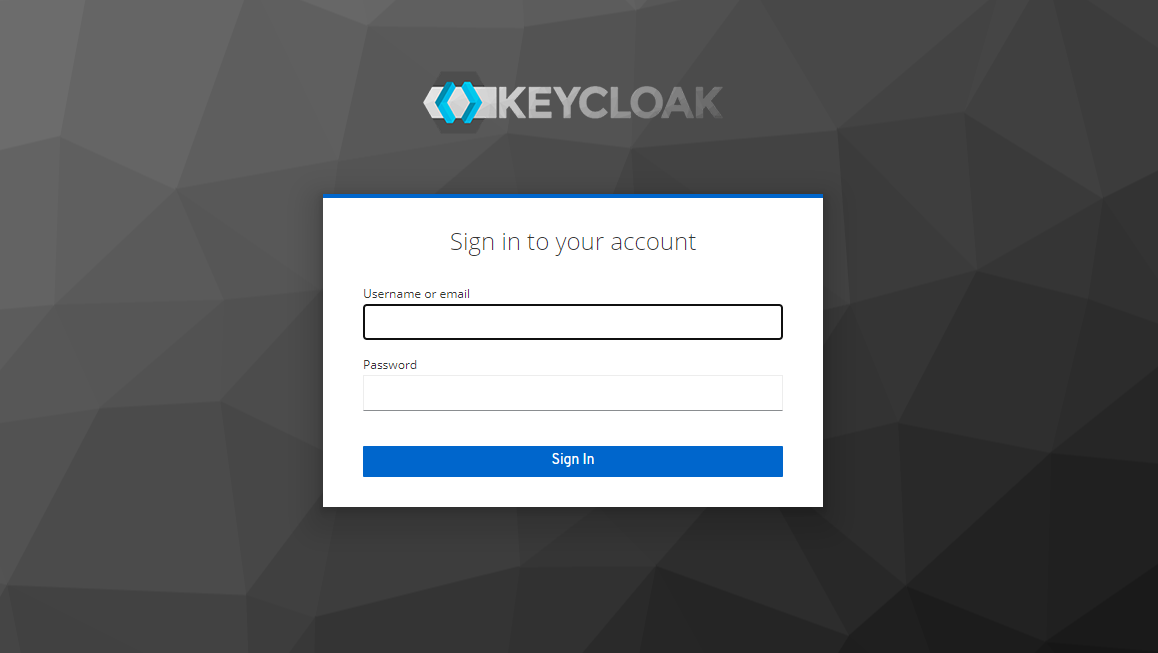
Once you enter the login details and click next you should see the following screen
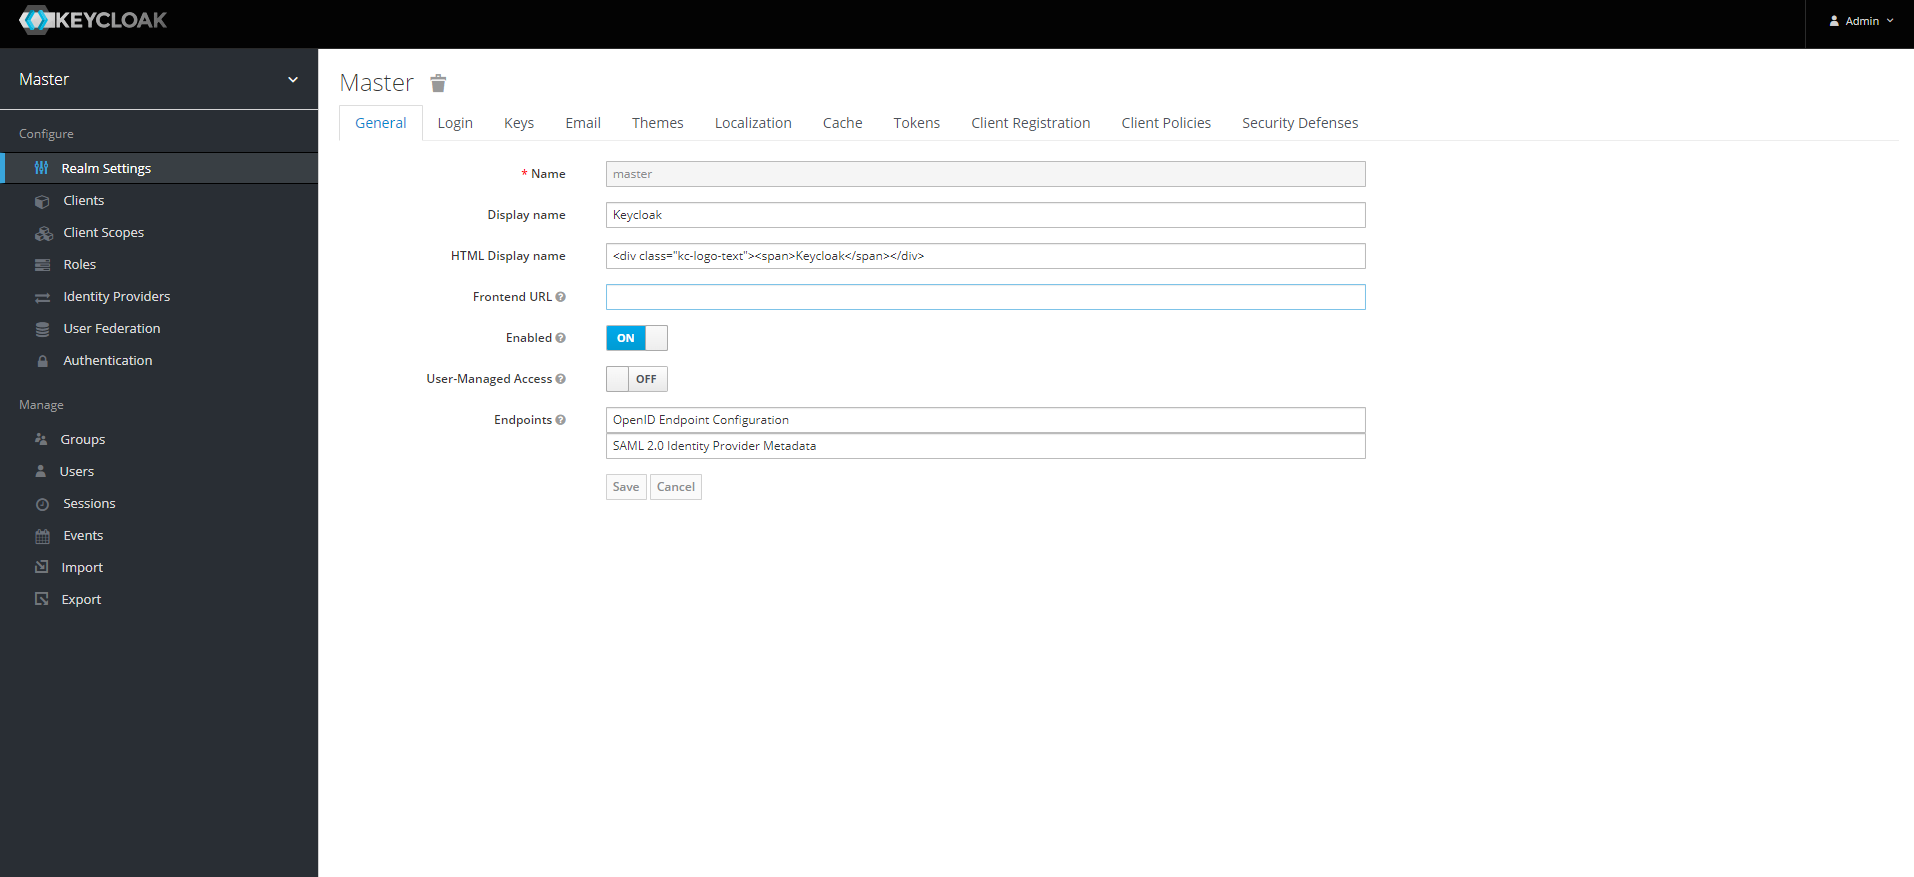
Your keycloak server is now ready to go !